To pour a Rosetta in latte art, start by steaming your milk to a silky microfoam, aiming for a temperature between 150°F to 155°F. Brew a fresh shot of espresso with a rich crema, and mix it well with the milk. Hold the pitcher close to the coffee surface and pour consistently while wiggling back and forth to create the leaf effect. Adjust your height and speed to enhance the clarity of the design. For further refinement of your technique, explore additional tips that can elevate your coffee artistry.
Key Takeaways
- Steam milk to a glossy, silky microfoam texture, ideally between 150°F to 155°F, for a perfect pour in your coffee creations.
- Pour the steamed milk slowly into the espresso, keeping the pitcher spout close to the surface for precision in your latte art.
- Use a back-and-forth motion to create the leaf wiggle effect while maintaining a steady pouring speed, enhancing your coffee presentation.
- Fill the cup about two-thirds full to ensure proper mixing and avoid visible white areas in the design of your coffee masterpiece.
- Regular practice and feedback from peers will help refine your technique and enhance your latte art skills, making your coffee experience even more enjoyable.
Understanding the Rosetta Design
Understanding the Rosetta design is essential for any aspiring barista, as it serves as a foundational pattern in latte art.
To create a successful Rosetta, make sure your milk is steamed to a thinner texture, minimizing air incorporation. This helps form those defined layers.
Steaming your milk to a thinner texture is key to achieving those beautiful, defined layers in your Rosetta.
You can experiment with two styles: the narrow, tall version through quick wiggling, or the wider, slower slozetta. It takes time to master this technique, so don’t rush.
A common mistake isn’t thoroughly mixing espresso with milk, leading to poor contrast. Embrace this challenge; you’re learning something new that enhances your latte artistry and deepens your appreciation for coffee.
Preparing the Milk for Rosetta
To create a perfect Rosetta, you’ll need to steam your milk to a thinner texture, incorporating less air for a silky microfoam.
Aim for a temperature between 150°F and 155°F to achieve that glossy finish without scalding the milk.
Using a pitcher with a sharp spout will enhance your precision as you pour the design, allowing you to showcase your coffee artistry.
Ideal Milk Texture
Achieving the ideal milk texture for a Rosetta requires a careful balance of techniques to ensure your pour is both fluid and precise. Aim for thinner milk with minimal air to create a silky texture, which is essential for the delicate layers of your latte art. The milk should be glossy and smooth, free of large bubbles. Utilizing a sharper spout jug allows for better pouring control, enhancing the overall appearance of your design in the cup.
| Texture Quality | Desired Characteristics | Importance |
|---|---|---|
| Glossy | Smooth, no large bubbles | Ensures a uniform pour |
| Silky | Minimal air | Provides precise control |
| Thin | Fluid movement | Creates a defined pattern |
Steaming Techniques Explained
While mastering the Rosetta pour, it’s vital to focus on the steaming techniques that prepare your milk for success in coffee preparation.
Steam your milk to a thinner texture, incorporating less air than for heart or tulip designs. Aim for a velvety microfoam consistency, which allows for better control during your pour.
Use a sharp spout jug for a precise flow, crucial for creating intricate patterns in your coffee art. Maintain a uniform temperature of 140-150°F (60-65°C) to avoid compromising both texture and flavor.
Consistent practice will develop your muscle memory, greatly enhancing your ability to pour a clean, beautiful Rosetta design in your coffee.
Safety first—always monitor your steam wand carefully to ensure optimal performance.
Creating the Espresso Base
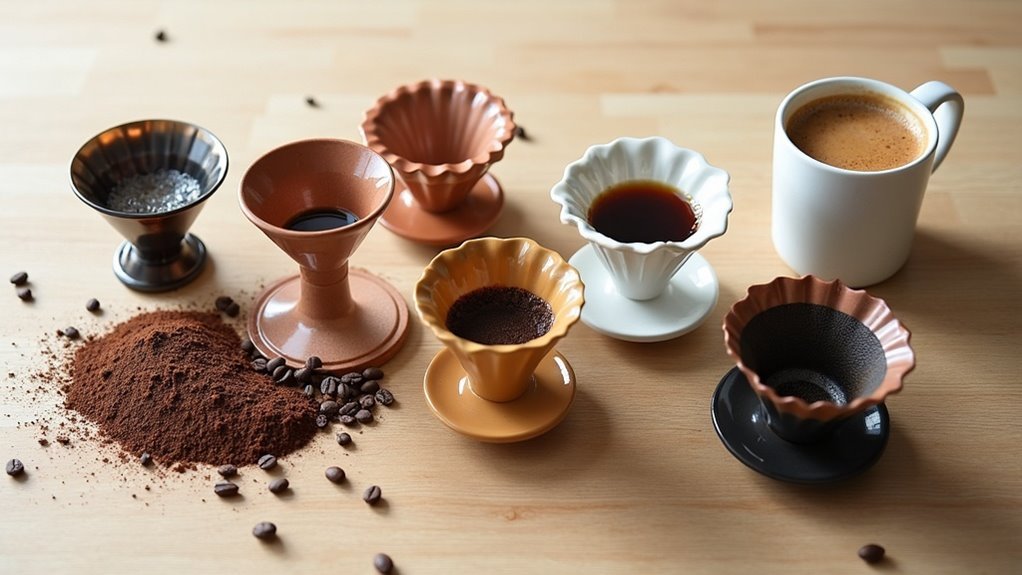
To create a solid espresso base, start by brewing a fresh shot that boasts a rich crema, as this is essential for your Rosetta design.
Next, mix this espresso with steamed milk in the right proportions to ensure a uniform base, preventing any white spots from ruining your pattern.
Fill the cup to about two-thirds full with this mixture to allow ample space for your Rosetta to take shape.
Enjoy the artistry and flavor of your coffee creation!
Espresso Selection Importance
The foundation of a great rosette in latte art lies in the selection of espresso. Choose high-quality, freshly roasted coffee beans for a richer crema, which enhances the contrast in your design.
Opt for a medium to dark roast to achieve a thicker crema, vital for a stable base. Adjust your grind size carefully; too coarse results in weak extraction, while too fine can lead to bitterness.
Aim for a consistent extraction time of 25-30 seconds to ensure peak crema quality. Finally, measure your coffee dose with a scale, targeting 18-20 grams for a double shot, to maintain consistency in flavor and crema quality, which are essential for successful latte art.
Proper Milk Proportions
Achieving the perfect rosette starts with getting your milk proportions right.
Begin with a shot of espresso, then add a small drop of steamed milk to eliminate any visible white areas in the crema. Fill your cup about two-thirds full with this espresso-milk mixture, ensuring enough space for the design.
For a rosette, aim for a thinner milk texture; incorporate less air while steaming to achieve this consistency. Thoroughly blend the espresso and milk to prevent separation, which could compromise your final design.
Precision in these proportions sets the foundation for a beautiful rosette, making your coffee experience truly exceptional.
Achieving Uniform Base
Creating a solid espresso base is essential for a successful rosette, as it guarantees that the design stands out against the rich crema. Start by pulling a shot of espresso, ensuring a rich crema with no visible white areas. Add a small drop of steamed milk to blend thoroughly, then fill the cup about two-thirds full with the espresso-milk mixture. Aim for less air when steaming the milk for a thinner consistency ideal for Rosetta art. Confirm even distribution of the espresso and milk before pouring to maintain contrast.
| Step | Action | Note |
|---|---|---|
| Pull Espresso | Ensure rich crema | No visible white areas |
| Add Steamed Milk | Mix thoroughly | Small drop only |
| Fill Cup | Two-thirds full | Leave space for pouring |
| Steam Milk | Incorporate less air | Thinner texture preferred |
Pouring Techniques for Rosetta
Pouring a Rosetta requires careful attention to technique and precision. Maintain a consistent pouring speed to guarantee a balanced mix and preserve symmetry in your design.
Position the pitcher spout close to the coffee surface without touching it, enhancing interaction for intricate patterns. Use a small back-and-forth motion during the pour to create the essential wiggle effect for the leaves.
Adjust your pouring height based on cup size: larger cups need slower techniques for depth, while smaller cups benefit from quicker actions.
Practice pouring with patience to develop muscle memory and refine your technique for consistent, beautiful Rosetta patterns. Enjoy the artistry of coffee making as you create stunning latte art!
Achieving Design Styles
To master different design styles in coffee art, particularly Rosetta latte art, understanding the nuances of your pouring technique is essential. You can achieve a narrow Rosetta by wiggling quickly, emphasizing speed and precision. In contrast, a wide Rosetta, or slozetta, requires slower, broader motions for a more dramatic leaf pattern. Keep your jug centered and aligned vertically to ensure symmetry.
| Design Style | Pouring Technique | Visual Impact |
|---|---|---|
| Narrow | Quick wiggling | Tall, lean |
| Wide (Slozetta) | Slow, wide motion | Spread-out leaf |
Practicing both styles builds muscle memory, enhancing your latte art execution and elevating your coffee presentation skills.
Common Mistakes to Avoid
While mastering Rosetta latte art can be rewarding, several common mistakes can undermine your efforts.
First, ensure you thoroughly mix the espresso and milk to avoid visible white areas in the crema, which affects the overall appearance.
Maintain a steady grip on the jug to prevent it from collapsing during the pour.
Adjust your pouring speed according to the design style you want—pouring too fast or too slow can lead to an unclear Rosetta.
Avoid using overly thick milk; thinner milk with less air is essential for creating delicate leaf patterns.
Finally, keep the pitcher spout close to the coffee surface to achieve defined layers and intricate details in your design.
Tips for Enhancing Your Technique
Achieving a perfect Rosetta requires attention to detail and technique. Focus on these tips to enhance your pouring skills:
| Technique | Description | Benefit |
|---|---|---|
| Consistent Pour Height | Maintain a steady height while pouring. | Controls milk depth and sharpens design. |
| Back and Forth Motion | Incorporate a subtle motion during the pour. | Effectively forms the leaf structure. |
| Vary Pouring Speed | Experiment with different pouring speeds. | Adjusts design height and width. |
| Use a Sharp Spout Jug | Choose a jug with a precise spout. | Enhances line definition. |
Regular practice of mixing espresso and milk is essential for achieving a vibrant Rosetta. Enjoy the process and keep refining your coffee art skills!
Continuing Your Latte Art Journey
As you continue your latte art journey, mastering advanced techniques becomes essential for elevating your skills in coffee crafting.
Focus on perfecting your pouring techniques; consistent practice builds muscle memory and allows you to create intricate designs like the Rosetta in your coffee.
Experiment with various cup sizes to see how they influence your pouring dynamics, adjusting your speed and height for the best results in your coffee creations.
Incorporate patience into your routine—perfecting latte art takes time.
Use tools like duct tape to stabilize your cup during practice, ensuring symmetry in your coffee art.
Seek feedback from fellow coffee artists and watch tutorials to refine your technique and maintain motivation in your coffee endeavors.