Yes, you can roast coffee in an oven! Preheat it to 450°F, then spread your green coffee beans in a single layer on a cookie sheet. Keep an ear out for the first crack at 6-8 minutes; this marks the light roast stage. Stir occasionally for even coloring and monitor the aroma. Once you achieve your desired roast, cool the beans quickly using a metal colander. There’s so much more to discover about perfecting your home roasting technique!
Key Takeaways
- Yes, coffee can be roasted in an oven by preheating it to 450°F and using a cookie sheet for even roasting.
- Spread green coffee beans in a single layer to ensure uniform cooking and prevent scorching.
- Monitor the roast closely, listening for the first crack around 6-8 minutes to identify a light roast.
- Cool roasted beans quickly in a metal colander to stop the cooking process and preserve flavor.
- Store cooled beans in an airtight container in a cool, dry place to maintain freshness.
Understanding the Oven Roasting Process
When you decide to roast coffee in your oven, you’re embarking on a delightful journey that transforms green beans into aromatic, flavorful brews.
Start by preheating your oven to 450°F and spread the green coffee beans in a single layer on a cookie sheet.
Throughout the roasting process, listen for the first crack around 6-8 minutes—this signifies significant changes occurring in the beans.
Stir occasionally to ensure even roasting, and keep an eye on the color and aroma to achieve your desired roast level.
Once you’ve reached that perfect flavor profile, promptly transfer the beans to a heat-resistant bowl for cooling to prevent over-roasting due to residual heat.
Enjoy the rich experience of freshly roasted coffee!
Preparing Your Coffee Beans
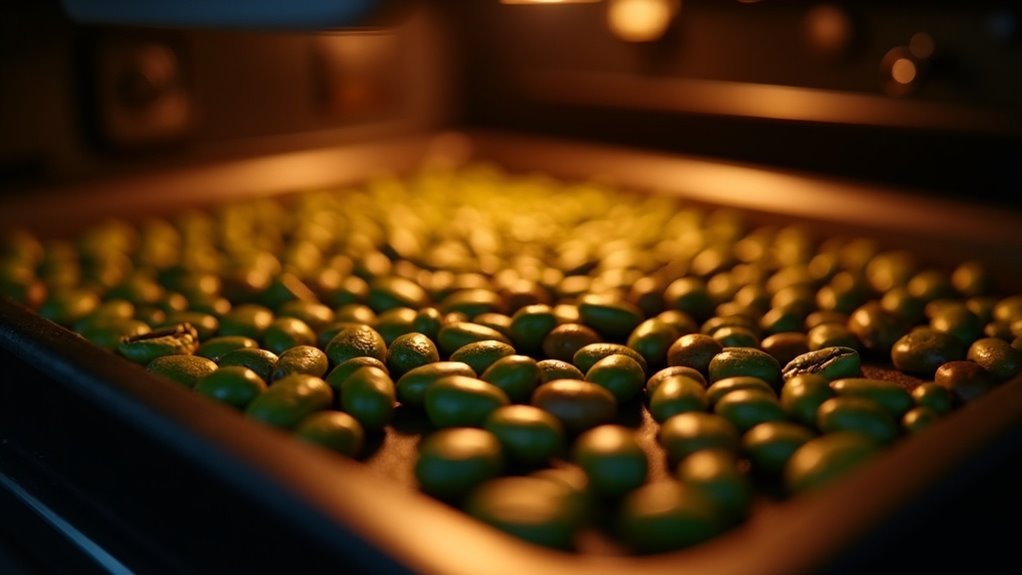
To achieve the best results in roasting coffee, you must begin with high-quality green coffee beans, as their origin and processing greatly influence the final flavor profile.
When preparing your coffee beans, select unroasted coffee from various countries to explore diverse tastes.
Preheat your oven to 450°F, then spread the beans in a single layer on a cookie sheet for even roasting.
Stir the beans occasionally with a wooden spoon to ensure uniform coloring and prevent scorching.
Keep a close eye on the process, especially for the “first crack” around 6-8 minutes, to achieve your desired roast level safely.
Setting Up Your Oven for Roasting
Setting up your oven for roasting coffee is essential to achieving that perfect flavor profile. Preheat your oven to 450°F (232°C) to ensure the beans reach the necessary temperatures for effective roasting.
Use a cookie sheet to spread a single layer of green coffee beans evenly, promoting uniform roasting. Monitor the beans closely, stirring occasionally to ensure they roast evenly and prevent burning.
Listen for the “first crack” sound, which typically occurs around 6-8 minutes; this indicates the beans are starting to roast. Once you reach your desired roast level, promptly transfer the beans to a heat-resistant bowl for cooling.
Enjoy the process and the delightful aroma of freshly roasted coffee!
Monitoring Roast Progress: Cracks and Colors
How can you truly appreciate the nuances of your coffee roast without keenly observing the cracks and colors that unfold during the process?
As you begin roasting your coffee beans, listen for the first crack around 6-8 minutes—this signals a light roast with a delightful popping sound. Pay attention to the color shift from green to light brown.
Listen for the first crack at 6-8 minutes, marking the shift from green beans to a delightful light brown roast.
As roasting continues, you’ll hear the second crack around 10-15 minutes, indicating the transition to medium and dark roasts. Monitor closely; exceeding 15 minutes can produce a dull, “baked” taste.
Cooling the beans immediately after reaching your desired roast preserves their vibrant flavor profile and ensures you enjoy the best coffee experience.
Cooling and Storing Your Roasted Coffee
After roasting, promptly transfer your beans to a metal colander to cool them efficiently and remove chaff.
It’s crucial to bring them to ambient temperature within minutes, as any retained heat can affect the roast’s final flavor.
Once cooled, allow them to vent overnight in an airtight container to enhance their taste before storing them properly in a cool, dry place away from light.
Cooling Methods for Beans
Once you finish roasting your coffee beans, it’s vital to cool them rapidly to prevent overcooking from residual heat.
Use effective cooling methods by transferring the beans to a heat-resistant bowl or metal colander. Spread them out in a single layer for an even roast and faster cooling.
To remove the beans’ chaff, gently shake the colander or use a hairdryer on a cool setting.
Once cooled, vent the roasted coffee beans overnight in a non-airtight container to release carbon dioxide. This step is important before sealing them in an airtight container for proper storage, which helps maintain their quality for weeks.
Proper Storage Techniques
Cooling your roasted coffee beans is just the beginning; proper storage techniques are essential for preserving that freshly roasted flavor.
After cooling in a metal colander, allow your beans to vent overnight in an open container to release carbon dioxide.
Once that’s done, transfer them to an airtight container to protect them from exposure to air and moisture.
Store the container in a cool, dry place, away from sunlight.
Remember, roasted coffee is best enjoyed within six weeks of roasting, so handle your beans with care to maintain their rich flavor profile and aroma from your home roasting endeavor.
Enjoy your perfect cup of coffee!
Maintaining Freshness Over Time
To maintain the exceptional flavor of your roasted coffee, it’s crucial to cool the beans promptly. This step halts the cooking process and prevents over-roasting.
Immediately pour the beans into a heat-resistant bowl or colander after roasting. Allow them to vent overnight in an open container to release gases before sealing them in an airtight container.
For optimal flavor retention—lasting up to six weeks—store your fresh coffee in a cool, dry place, away from sunlight. For even greater freshness, consider using vacuum-sealed bags or containers equipped with one-way valves.
Additionally, remember that unroasted coffee can last up to six months, making it a fantastic long-term investment for coffee lovers.
Tips for Achieving Your Desired Roast Level
As you embark on the journey to achieve your ideal coffee roast level, preheating your oven to 450°F is crucial for consistent results. Begin by spreading a single layer of green coffee beans on a cookie sheet, and keep a close eye on them. Stir occasionally to ensure uniform color throughout the roasting process. You’ll want to listen for the “first crack” around 6-8 minutes, which indicates the light roast stage. For a medium roast, aim for a roasting time of 12-15 minutes; feel free to adjust as necessary. Keep in mind that roasting beyond 15 minutes may result in dull flavors.
| Roast Level | Time (minutes) | Temperature (°F) |
|---|---|---|
| Light | 6-8 | 450 |
| Medium | 12-15 | 450 |
| Dark | 15+ | 475 |
Exploring Other Home Roasting Methods
While oven roasting offers a convenient way to enjoy fresh coffee, exploring other home roasting methods can elevate your experience and yield superior results.
A coffee roasting machine, for instance, provides precise temperature control and consistent agitation, ensuring even roasting of unroasted coffee beans.
Using a popcorn popper is another effective option, allowing you to monitor the process closely. For a light roast, you can easily stop the roast after the first crack, while other methods support longer roasting for medium or dark profiles.
Remember to cool your beans quickly to prevent overcooking and preserve those delightful flavors in your coffee.